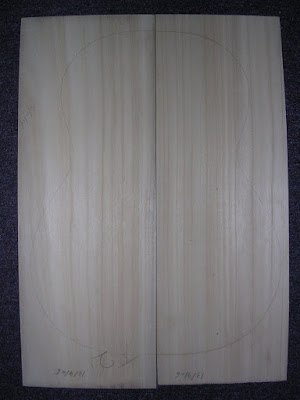
An orphan set of Paulownia top chosen for this guitar.

They are being glued on a jointing board above. and weighted down with router and my #4 plane.

After the glue set, the top is now getting ready to be thinned down with the #4 plane.

After thinned down to 3mm, a rosette is inserted next.

I decided to try some inlaying (with Indonesian rosewood). Looks unusual? An improvisation teacher I had, once said, that if you played a wrong note, play it again, and again! Well, remember my head design that came out of over-planing? Ha.
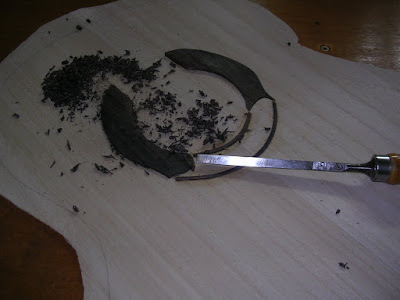
The inlay material was from a defected side, so pretty thick. Removing as much as I can with a chisel...
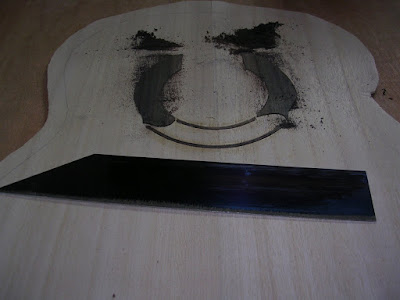
...and finally levelling it out with a scraper

Inlayed rosette leveled and flushed with the top.
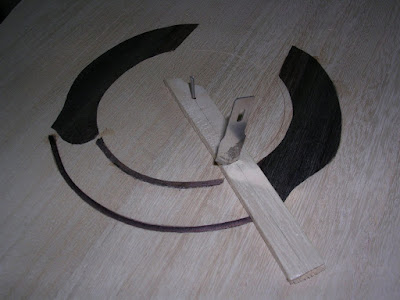
The soundhole is cut with the ice-cream bar stick technique. It's simply a razor blade mounted on an ice cream stick (I used a srap wood) rotating off a nail in the centre.

With few careful scoring with the blade, the soundhole gets a clean cut through.
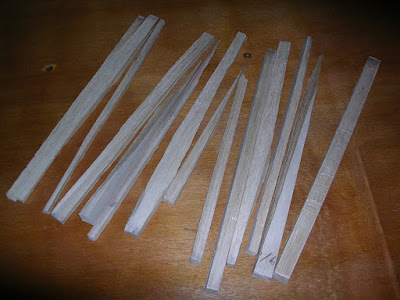
Next, bracing. Some Paulownia is hand split.
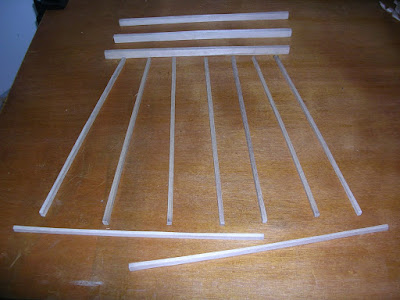
Shape to rectangle cross-section and to length
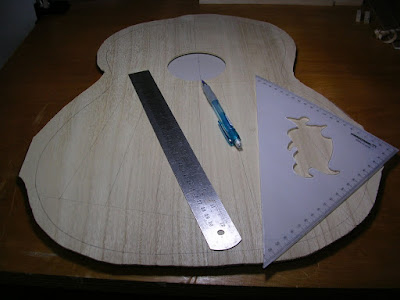
Drafting the bracing pattern on the top.

The rosette grafts are glued first to reinforce the sound hole, as well as the upper transverse graft and transverse bridge pad.

After gluing.

The 7 fan braces are numbered and middle 5 are notched to clear the bridge pad.

Fans are being glued with cauls and the shopmade cam clamps provide just enough grip to hold down the braces till the glue sets.

All glued up, including the finger braces, and carved down to a feather edge.

Bottom V are glued and carved. Now gluing the upper cross struts and upper transverse bar

I strive for musical tap response than to achieve any specific note(s) to determine the final graduation of braces. After that, I sand them down to #240 garnet.