Yamaha CG-101MS
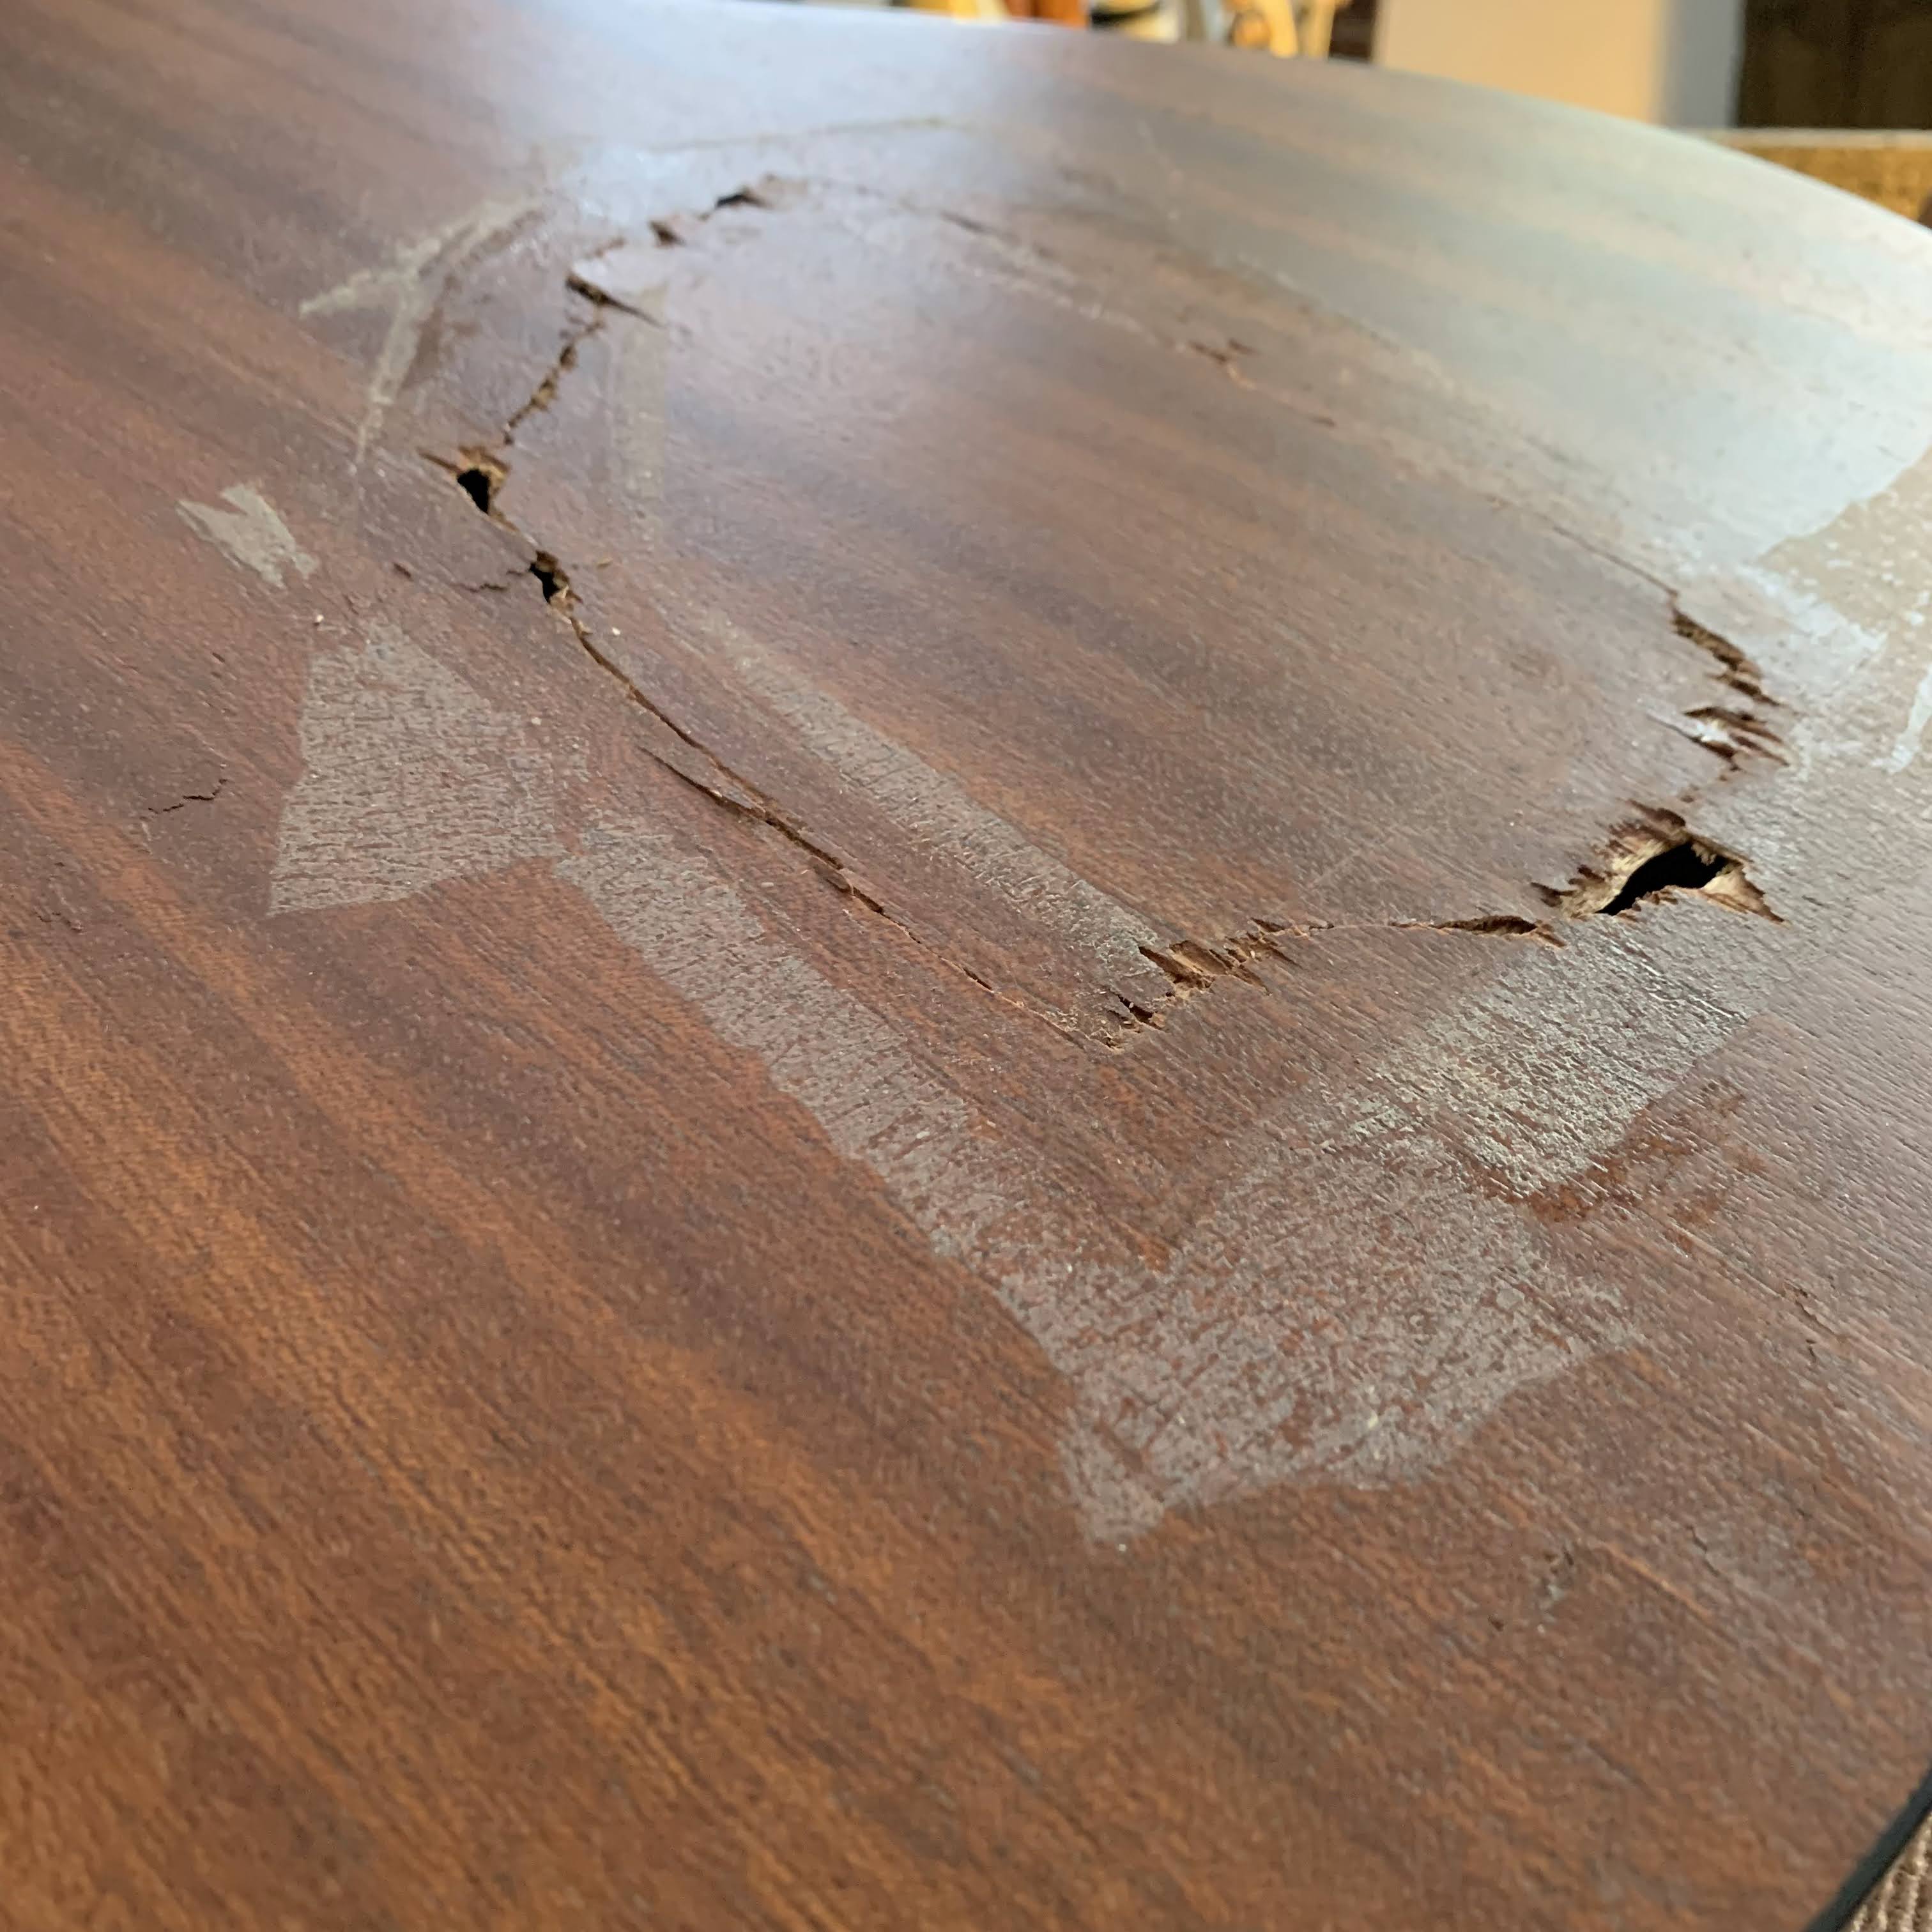
Before- part of the severed portion seemed stuck due to the
residue from the tape holding the loose piece down
Being removed carefully
For any chance of fitting this severed tensioned piece,
wood fibers need be trimmed to have any chance of doing that
Exposed areas of missing wood fibers from trimming
and initial impact being filled and awaits level sanding
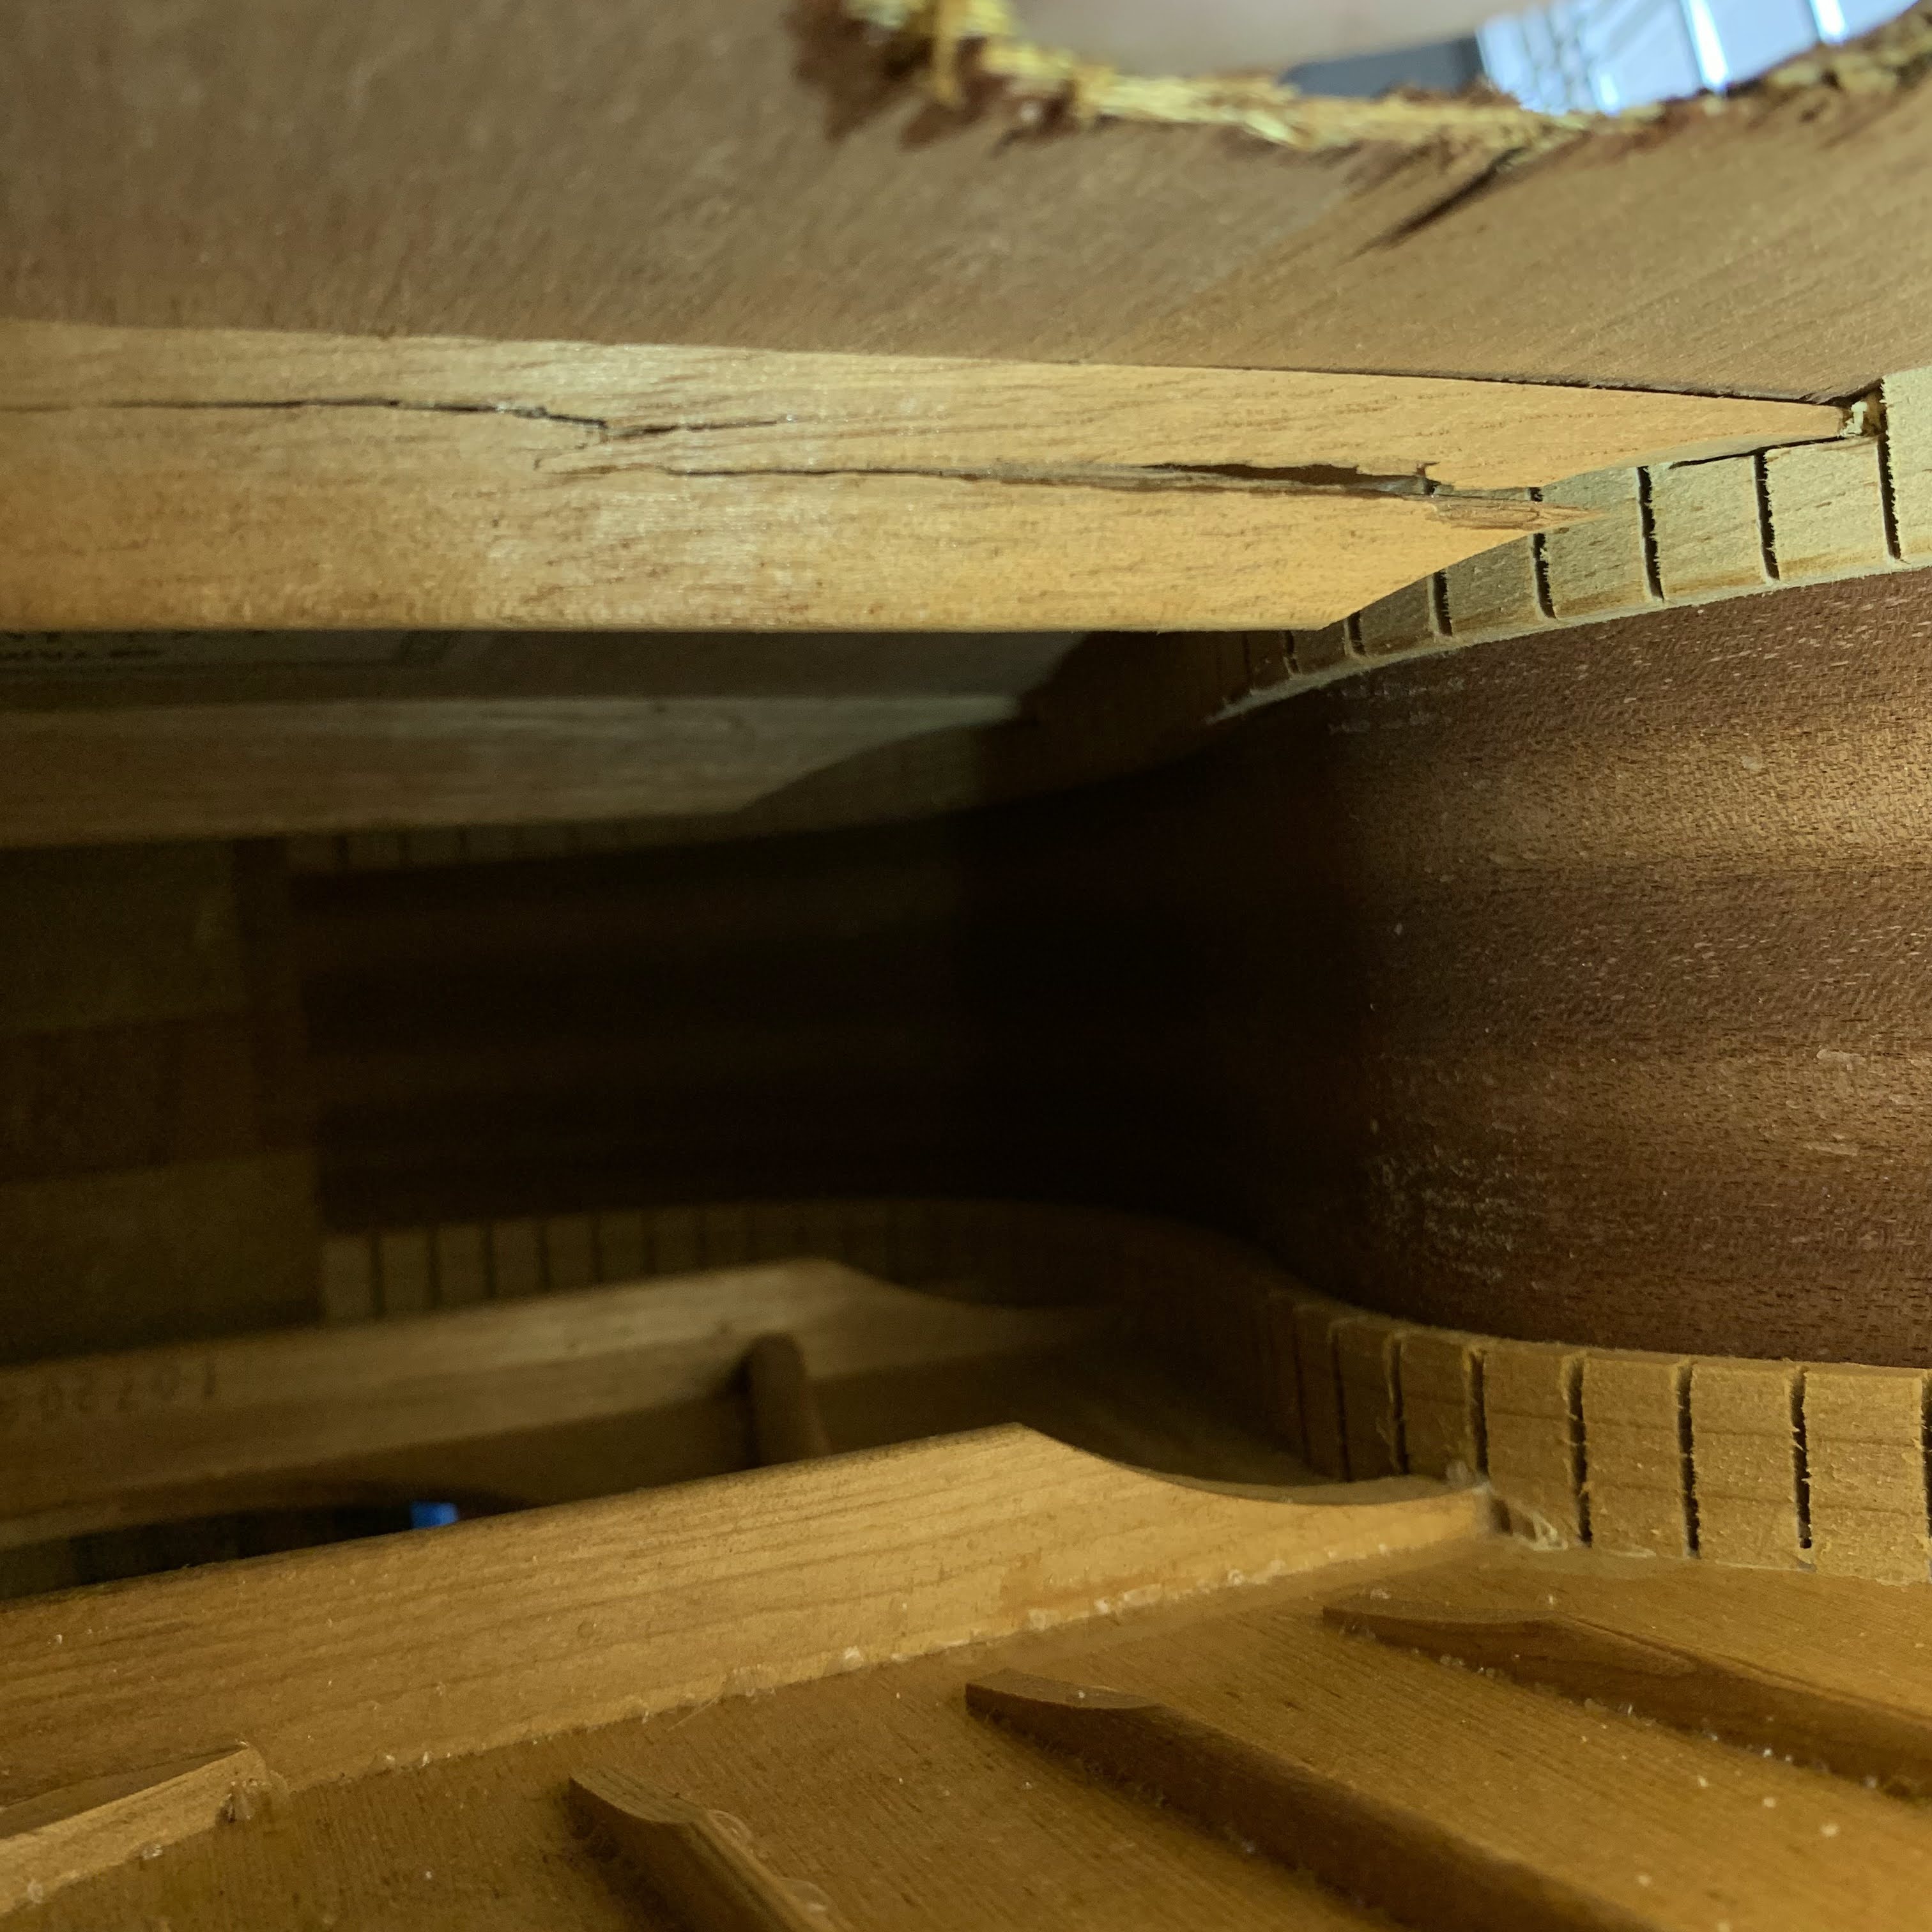
The initial impact also took with it, a back brace!
To reinforce the severed perimeter, glue and wood fibers combined
to seal and cleat this compromised structure
Before
After
Before
After
The other neighbouring back was split in various places
Being clamp glued
After
Before
After
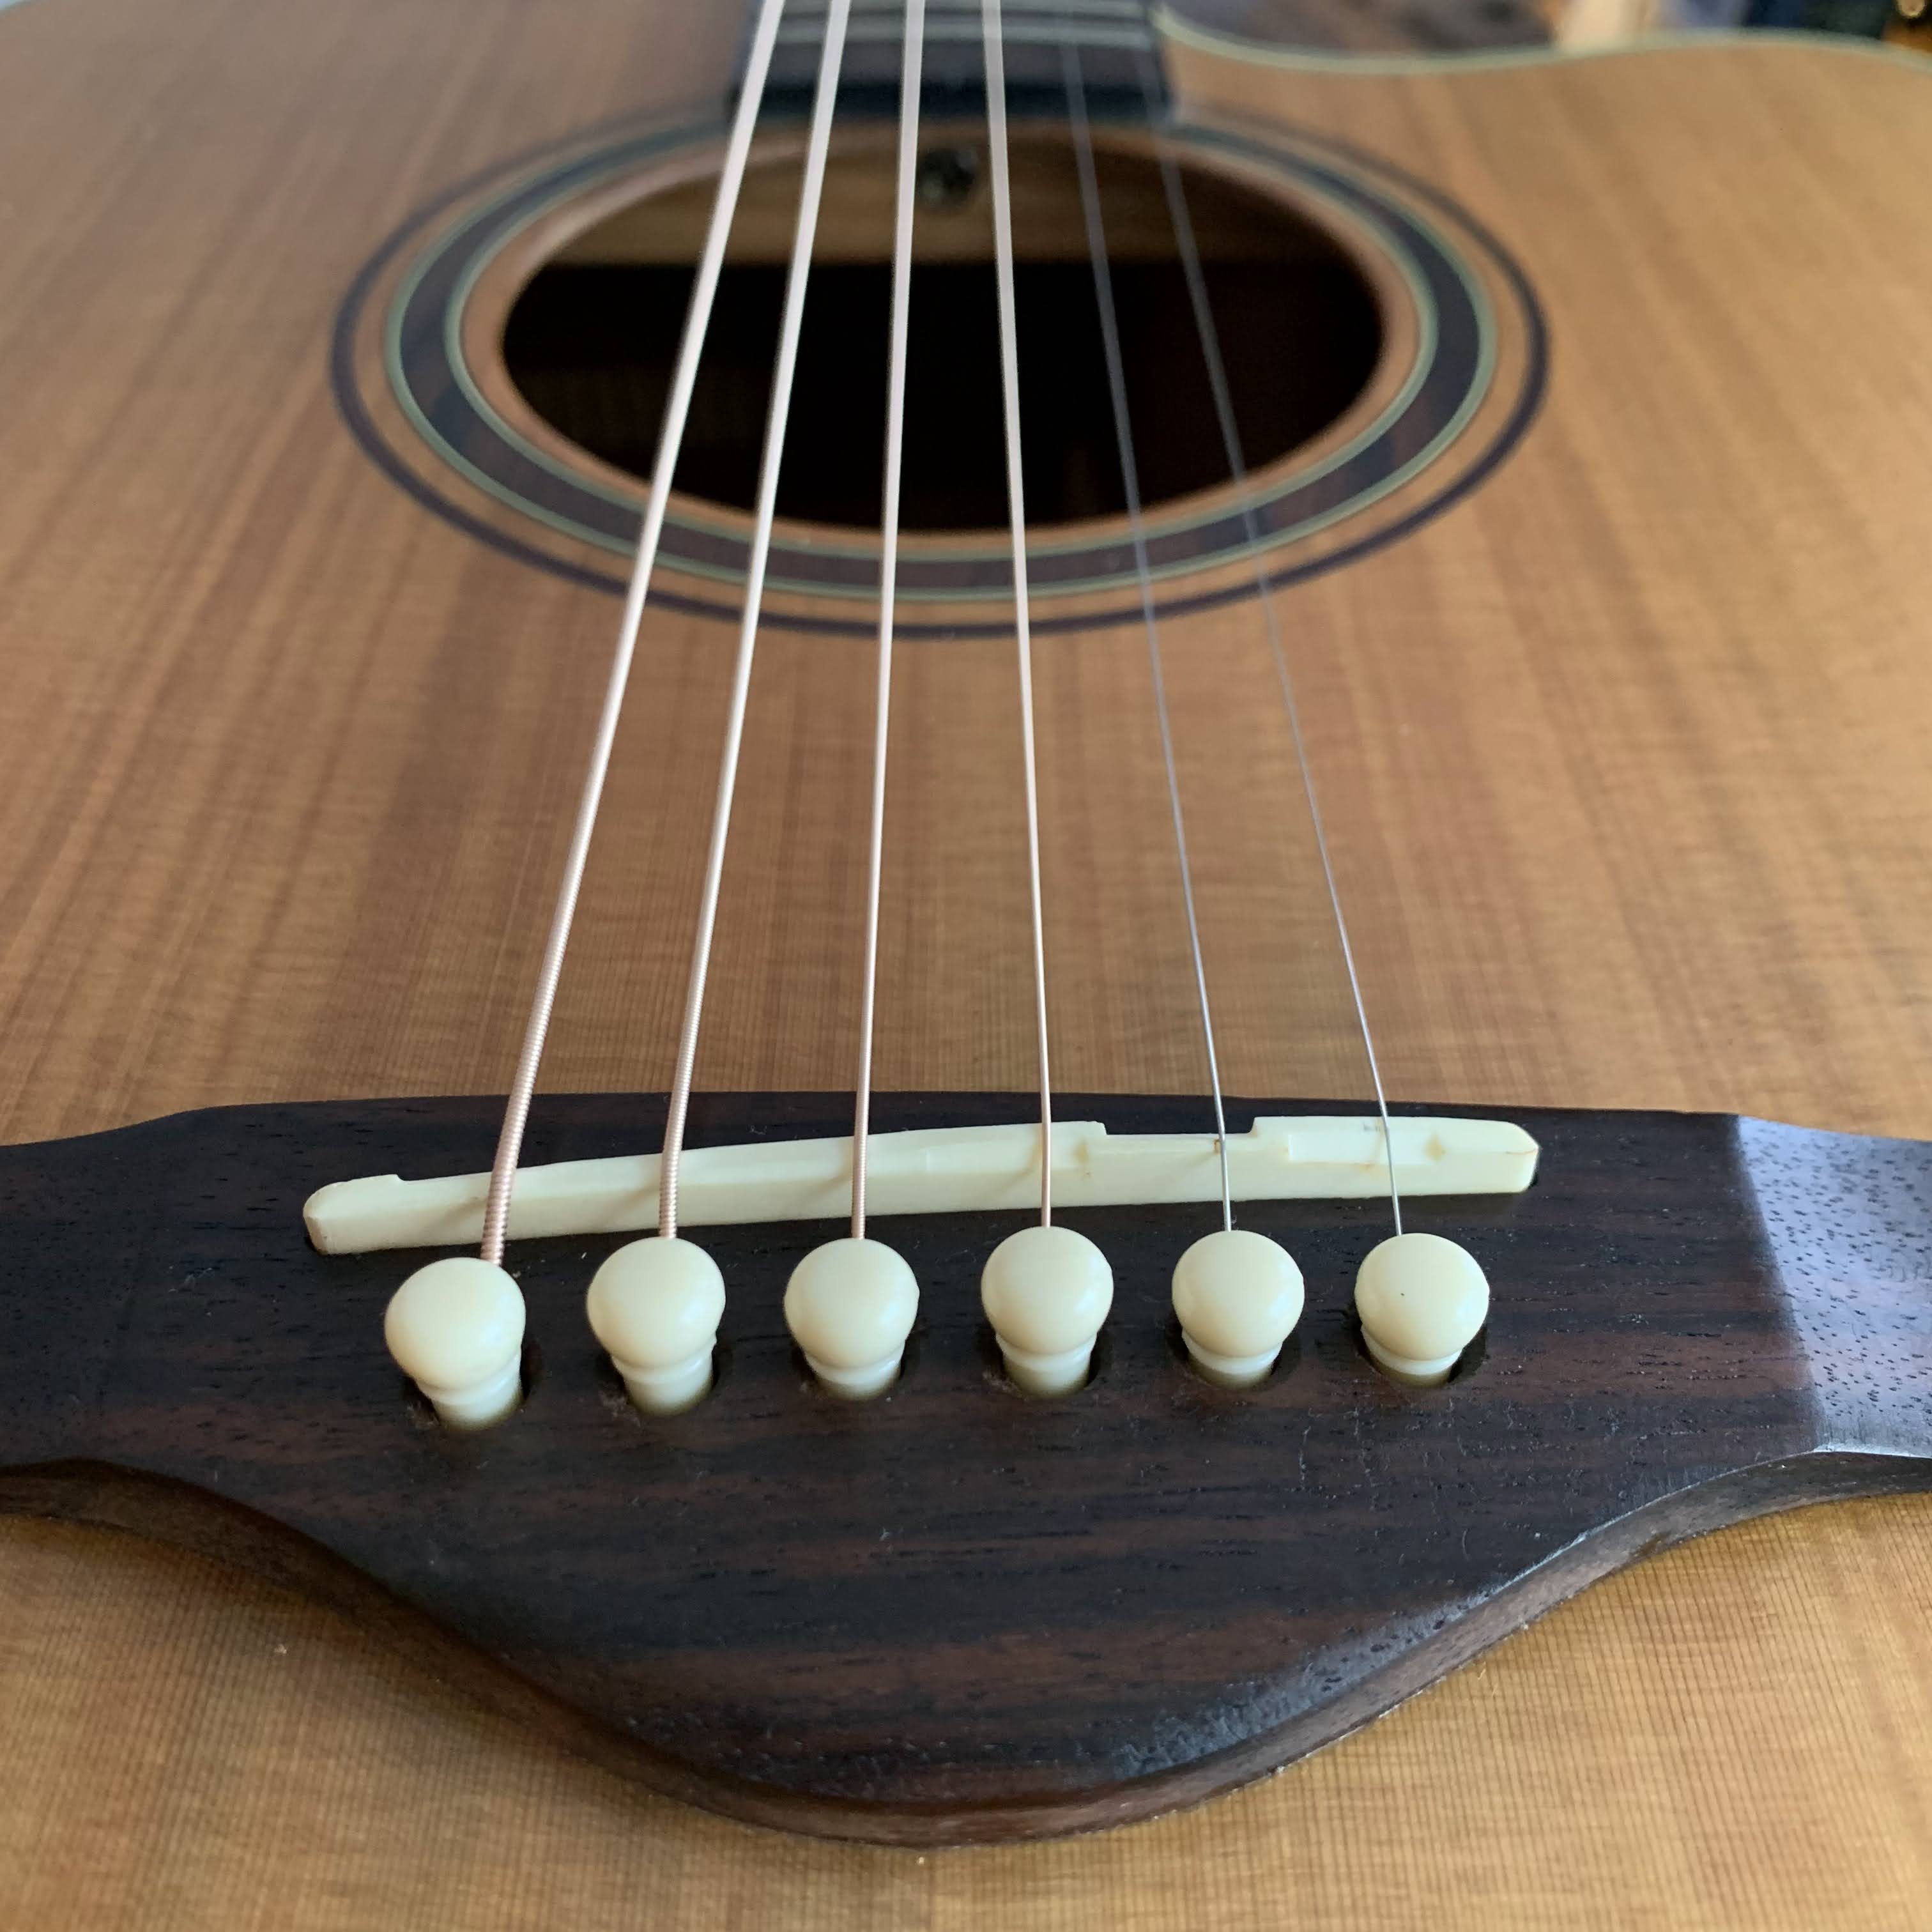
Ernie Ball nylon
Before
After
Before
After
Restored