
Each side is soaked in hot water for 10-11mins prior to bending over heated pipe. The hammer is to weigh down the side in the customised galvanised iron water-tight tray.

I made this heated pipe or "bending iron" out of a 4" aluminium pipe mounted on a 1.5" pine board. The heat source is a 200W bulb. I push in bushes of wire mesh for even heat distribution over most of the pipe. Looks worse than a schoolboy project! Ha! But it works and it cost 1/20 of those available commercially!

The sides are bent to the side template (brown colour, held downwith cam clamps).

Gluing the soundboard to the headblock.

For the top, I use individual blocks to provide more gluing surface to assemble the side to the top. Here, I facet a slope to the rectangle cross-section of a Paulownia strip with the #4 plane. It's further planed to dimension...
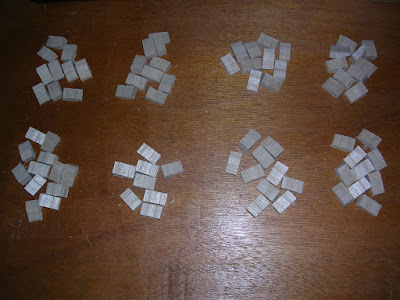
...and saw into individual blocks of about 16mm tall and 10mm wide. I guess 80 of them should be enough for gluing side-to-top.
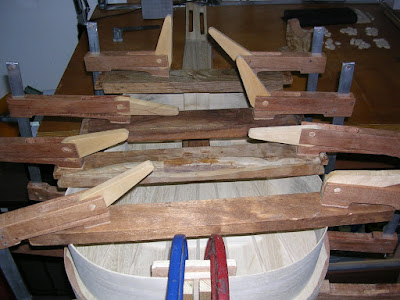
The bent sides are aligned the top and the tail end of the sides are being glued to the tailblock (with red & blue G-clamps) . The tailblock was arched on the sanding board, correctly aligned and glued the top earlier.
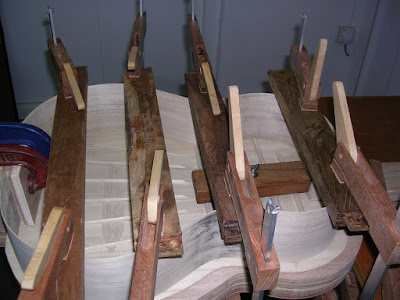
All set to glue the individual blocks, cut earlier, to hold the sides to the top.

Each block is thinly coated with aliphatic resin and held down for a minute or so, using my fingers. I had the luxury of the TV to entertain me while I glued down all the 80 blocks. Before I could finish, the news on Channel News Asia had already did a re-run! Can you see those blocks?

I used up all the 80 blocks before I could go round the sides. I had to make 19 more.

Here's how it looks like when the 99 blocks are glued all the way round the top. The sides are now strongly held to the top, thanks to the gluing surface the individual blocks provide.

To prevent brace ends popping out due to structural stress, a simple reinforcement can be made using an extended feet. We need 4 of them for the 2 cross struts that stretches to the sides.

Here's a close-up of the extended feet being glued.
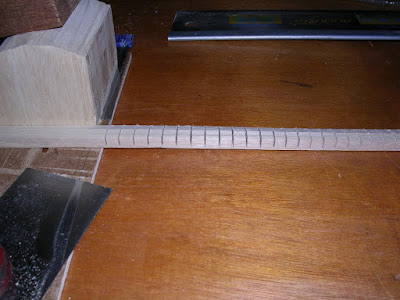
For the back-to-side assembly, I used continuous kerf linings. I am now sawing each kerf equally, leaving only 1/64" (0.4mm) web. This is to make the lining flexible enough to go around the sides to be glued.
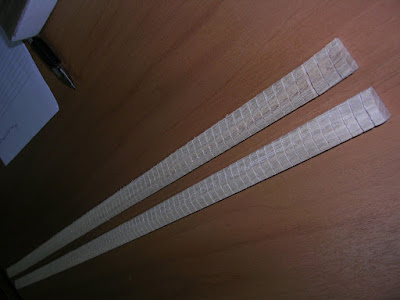
Two 28" Paulownia strips of continuous kerf linings waiting to be glued.

But the back arch is marked for tapering and planing. I do 94mm tall at the tail, tapering from the middle of the side to 84mm at the neck, for a tighter than usual back arch for a classical.

The wooden pegs are holding the continuous kerf linings to each side while the glue sets.


I'm priviledged to watch the sparkling interiors of a half finished guitar, while life passes by.