I've only used the traditional handtool chisel method before, for the rosette channel. Here, I'll attempt to use a laminate trimmer for this process. The original baseplate (right) is too narrow, so with a 5mm thick 6"x7" acrylic, I drilled at least two series of 1.5mm diameter holes as pivot points for the router centre, 1/8" apart. The four holes are stepped drilled for the screws to secure onto the main base. The centre hole for the router bit is drilled with a circle cutter.

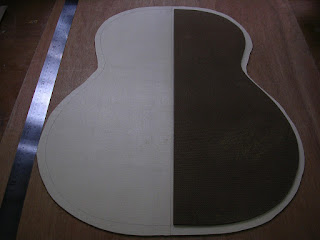
Next, drafting of the top outline with the template.

The centre of soundhole is determined and the soundhole, inside & outside diameter of the rosette is drawn with a compass.

Here, the new baseplate is secured to the main base, and pivoted on one of 1.5mm holes as the centre for the router to rotate. The inside diameter of the rosette is being routed.

The matched 1.5mm nail hammered to the workboard and top, with its head trimmed off, serve as a reliable pivot for the router.

A second rout is for the outside diameter of the rosette. Noticed the circular scratch marks on the soundhole area. They are caused by the burrs of the many drilled holes on the new baseplate. With a #2000 sandpaper, they got a good scrub for a smooth bottom!

After another two more routs, the rosette channel is completed. It takes a little longer to get it set-up and whirls up more dust, but in return you get a perfect channel with a consistent depth.