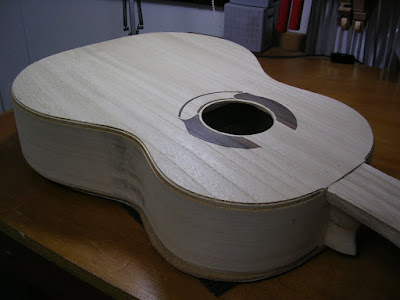
With some fitting work on the back and the open box. They are now ready for assembly.

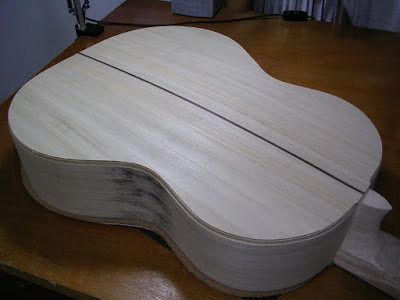
A bead of aliphatic resin glue is applied around the linings on both sides, some on the tailblock and headblock and a little on the brace end pockets. The back is put in place, checking to see if the centreseam is lined up nicely, then the guitar is held down with cam clamps on the workboard. A continuous strip of rubber (from a truck wheel inner tube) is now roped in sequence to hold down the back firmly till the glue sets.

The soundbox is clamped vertically for work on the end graft. The four cam clamps provide good enough grip to hole the soundbox to the bench without damaging it.

End graft slot cut.

End graft is a tapering Indonesian rosewood with maple/walnut sandwich, as with the back centreseam.

The end graft is actually clamp down with a long cam clamp.

End graft after scraped flush to the sides.

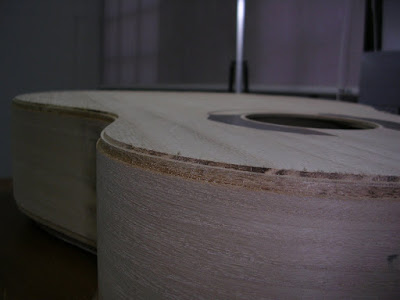
Cutting the binding and purfling ledges is done with a hand held electric router. The back is routed halfway on one side.
Binding ledge routed as well as the staircase ledge for the purfling.

Completed staircase on the back after final ledge trimming.
The top is routed likewise.

End graft purfling mitred.

All set to glue up the bindings.

But first, the rosewood bindings are glued to the maple/walnut veneer purfling sandwich. The top has double purflings. They need to be pre-bent to shape before gluing, just like for the sides, soaked in hot water and bending over bending iron.

Here's a close up of the bindings/purflings ready to be used on the guitar.

Aliphatic resin glue, masking tape and paper towel is needed. The first strip to be glue will be the top. Notice the extra purfling is added with the prebent binding/purfling for the top. The masking tape hold down the bindings well as glue sets.

First strip done.

Binding and purflings ends are neatly trimmed square at the end graft.
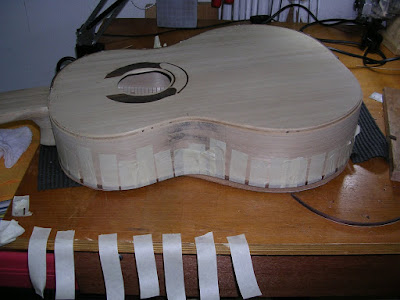
The next strip is for the half of the back diagonally opposite the first strip.

3rd strip down, as well as 4th not pictured.

Unmasked.

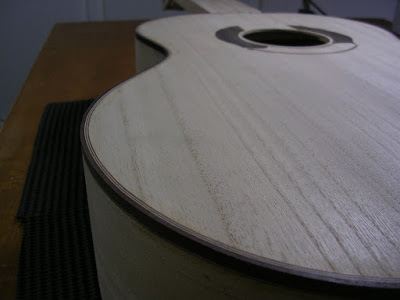
The bindings not only protects the unfinished seams, but also protects the edges of the guitar from daily knocks and bumps.